Google Form if Yes Then Continue
Sometimes you don't need every respondent to a survey or form to answer every question. For example, let's say you've sent out an RSVP form for an event. If someone says that they can't make it, it doesn't make sense to ask them how many guests they'll be bringing.
On the other hand, there are times when you may want to gather additional information depending on a respondent's answer. If someone expresses dissatisfaction during a customer satisfaction survey, you may want to learn why they were dissatisfied.
A form that displays only the most relevant questions for each respondent is one that uses conditional logic. Of the two examples above, the RSVP is the more sophisticated one, so let's see how to get conditional logic to work for that form in Google Forms.
Pro Tip
Sign up for a free Jotform account and migrate your existing Google Forms forms and submissions with just a few clicks.
Starting your form
The quickest and easiest way to get started with Google Forms is by using one of its templates. And it just so happens that there's a template for RSVP forms.
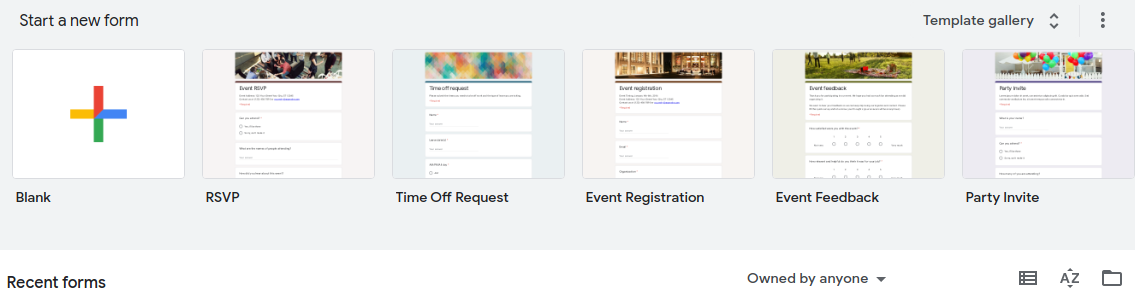
First, go to the Google Forms page, and then click on the link to the Template gallery in the upper right corner of the forms list area.
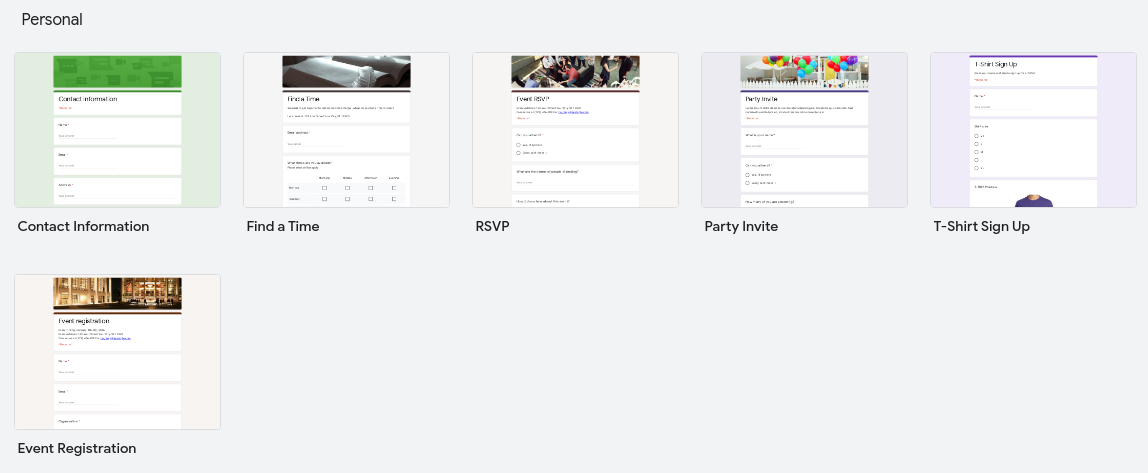
Your forms area will look different than the example above, especially if you've never created a form before. The RSVP form will be in the Personal section of the Template Gallery. Go ahead and open that.
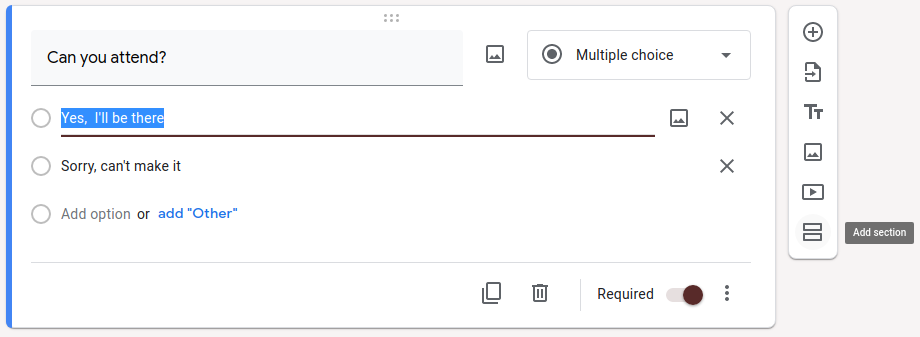
The RSVP form consists of a header, a header image, and a few questions.
If a person can't make it to your event, "Can you attend?" is the only question relevant to them. They don't need to see the follow-up questions. In order to hide those questions, we'll need to split the form into sections.
Adding sections
Creating sections will help you organize your form. Then you can set the form to jump to different sections depending on the respondent's answers.
Let's start by adding a section immediately after the attendance question. First, select the question. Then click the Add section button on the menu to the right.
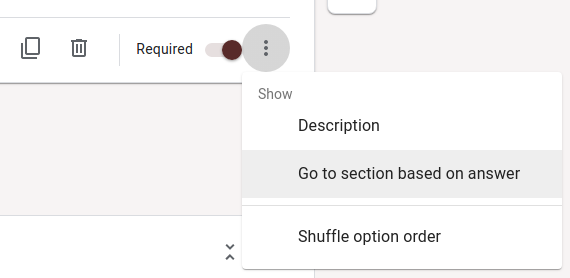
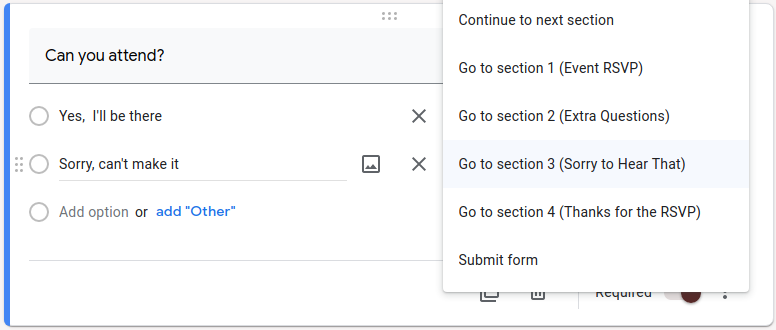
After you've added the section, click the three dots in the bottom right to add logic to the question by selecting Go to section based on answer.
There are now dropdowns to the right of each answer option. At the moment, they're set to Continue to next section. Before we can change that, we'll need to add two more sections — one for yes and one for no.
Select the Comments and/or questions question, and then add two more sections.
You should now have a total of four sections. The top section is already titled "Event RSVP" and includes only the attendance question.
The next section contains all the follow-up questions for attendees. The bottom two sections are empty and untitled.
Let's name the three unnamed sections "Extra Questions," "Sorry to Hear That," and "Thanks for the RSVP." You can rename them by clicking on each one.
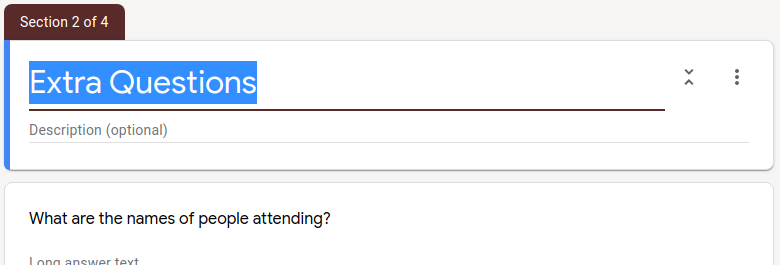
Below each title is a description field as well. You can use those to add a few more sentences to explain your sections or to share a personalized message.
Adding the logic
Go back up and select the attendance question. It's OK for those who answer yes to go to the next section with the follow-up questions, so we can leave that alone. But we want people who can't make it to skip ahead.
Click the dropdown next to the "Sorry, can't make it" answer and set it to go to the appropriate section.
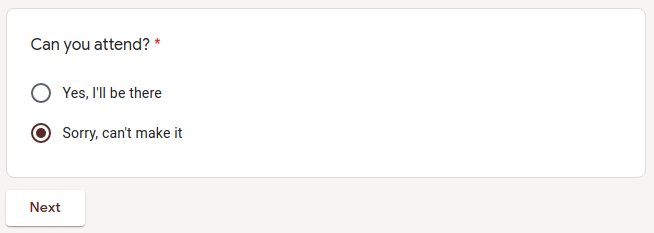
Now let's preview our form and make sure the conditional logic works so far. Click the eye icon in the upper right corner to preview your form.

Your form will open in a new tab. Each section will have a Next and/or a Back button. If you select Yes on the first question and click Next, it will take you where you expect. So will the no answer.
However, if you click Next from the "Extra Questions" section, it will take you to the "Sorry to Hear That" section. A similar problem occurs from the "Sorry to Hear That" section — clicking Next takes you to the thank-you page. That's not right.
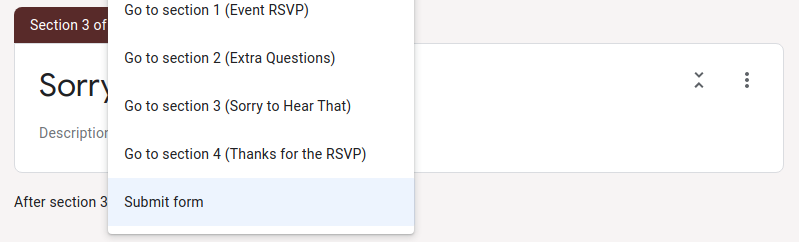
In order to fix that, we need to make sure that each section navigates to the appropriate next section. First, the "Extra Questions" section should go to the "Thanks for the RSVP" section. Click the dropdown at the bottom of the section and set it to go to the thank-you page.
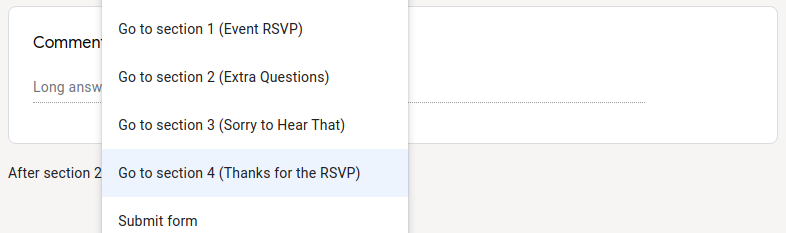
Now set the "Sorry to Hear That" section to Submit form.
Adding more advanced logic

The section navigation technique Google Forms uses is great for simple scenarios. But what if you're doing something really sophisticated? For example, you may want to create a questionnaire with many possible paths that asks questions appropriate to each respondent's demographics, interests, and location.
You could do that with Google Forms, but it would get pretty hairy. Even the example of a customer satisfaction survey from the beginning of this article would be tricky. It would be a pain to have to navigate to a separate section just to find out why someone is dissatisfied. Then you'd have to navigate back to the rest of the questionnaire from there.
It's better to use a tool with more features — like Jotform. Jotform has sophisticated logic tools that do more than just navigate users through your form. We even have an approval process tool to let you control the approval flow for your whole team.
Photo created by marymarkevich – www.freepik.com
This article is originally published on Dec 29, 2021, and updated on May 11, 2022.
Source: https://www.jotform.com/blog/conditional-questions-google-forms/
0 Response to "Google Form if Yes Then Continue"
Post a Comment